First-Time Setup
A checklist to get HotelierTV running for the first time.
First-Time Setup
What you'll learn: The order to do things in when you're setting up a fresh hotel for the first time.
Time needed: 30–60 minutes for a small hotel, longer for big ones.
Before you start
You'll need:
- A login to the admin panel. See First Login.
- Your hotel's basic info: name, address, contact email, phone.
- A logo file (PNG with transparent background works best).
- Your room list (numbers + which floor each is on).
- Your Wi-Fi network name (SSID) and password.
The recommended order
Do things in this order. Each step builds on the previous one, so skipping ahead can create confusion.
1. Set your hotel identity
Go to Settings → Identity in the sidebar. Fill in:
- Hotel name — shown on TV welcome screens, mobile companion, emails.
- Welcome text — the friendly subtitle (e.g. "Welcome to an unforgettable stay.").
- Hotel logo — upload a PNG/SVG/WebP up to 2 MB.
- Address, contact email, phone, WhatsApp number.
- Timezone, currency, default language.
Click [Save] at the top right.
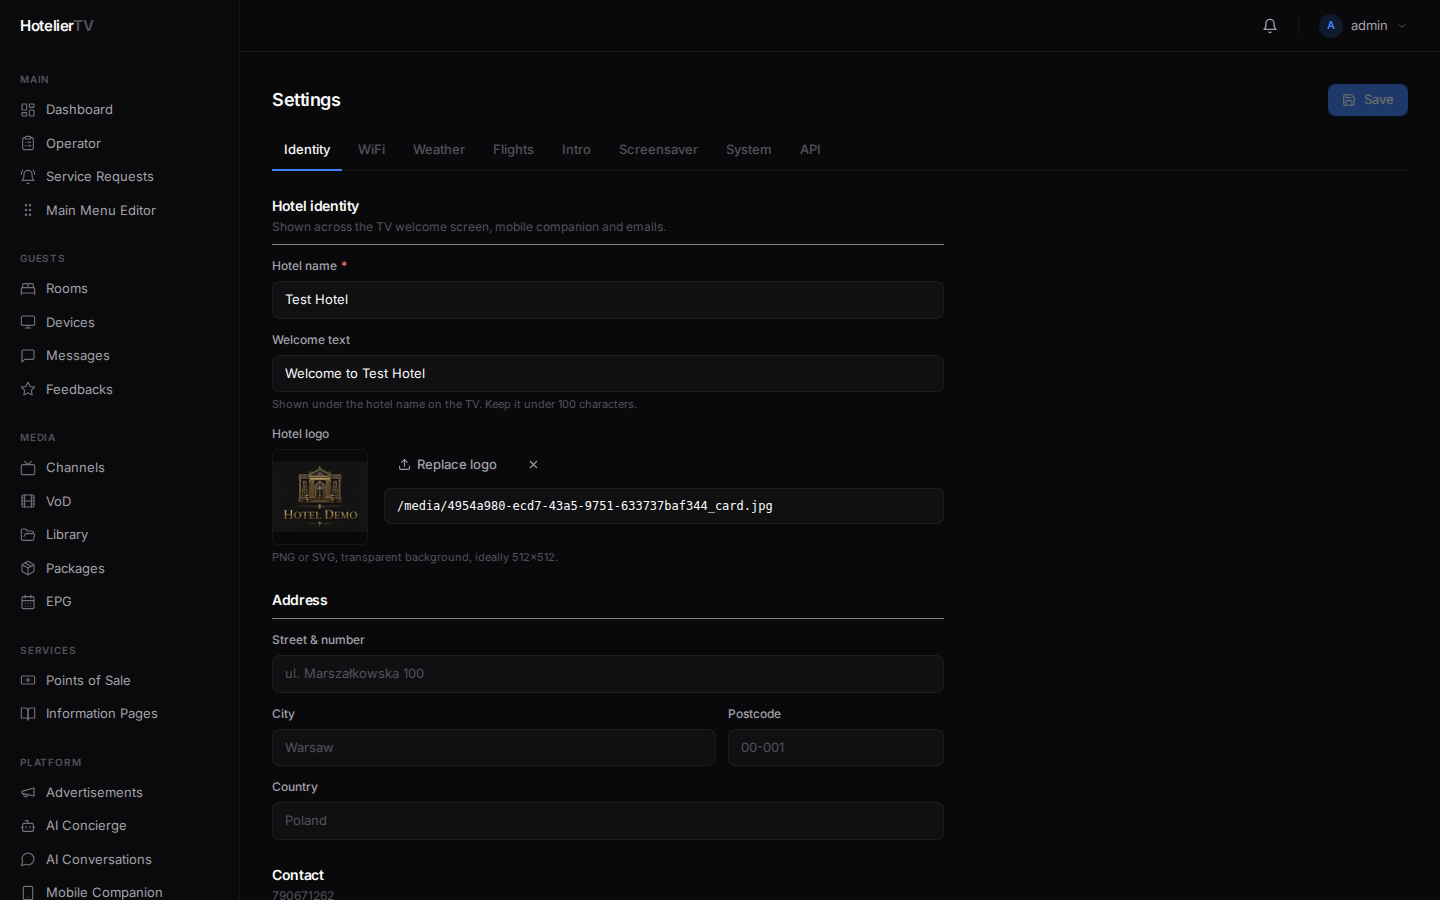
Why first? Your hotel name and logo show up everywhere else, so getting them right now means everything else looks correct as you build it.
See: Hotel Branding
2. Add your rooms
Go to Rooms in the sidebar.
If you have lots of rooms, use Add Room → Bulk Create to add a whole floor at once. Otherwise, add them one by one with the [Add Room] button.
See: Add Your First Room and Add Many Rooms at Once
3. Configure WiFi
Go to Settings → WiFi. Type in your SSID (network name) and password. Pick the security type (WPA2 is the most common).
This is what guests see when they tap the WiFi tile on the TV — it includes a QR code they can scan with their phone to join automatically.
See: WiFi Information
4. Customize the main menu
Go to Main Menu Editor in the sidebar. This is the home screen guests see when they turn on the TV — channels, restaurant, spa, info, etc.
The system gives you a sensible default. Hide tiles you don't need, rename ones that don't fit, change icons or background colors to match your brand.
5. Add restaurants, spa, info pages
Go to Points of Sale to add restaurants, room service, spa, and store outlets. Go to Information Pages for tours, landmarks, and hotel facilities.
See: Add a Restaurant, Add Spa & Wellness, Add an Information Page
6. Connect TVs to rooms
Now your menu is built, you can pair TVs. Go to Rooms, click a room, then + Register to generate a 6-digit PIN. Type that PIN on the TV.
7. (Optional) Turn on AI Concierge
If you want guests to chat with an AI that knows about your hotel, go to AI Concierge → Settings, enable it, paste in an OpenAI or Anthropic API key, then add a few knowledge documents.
See: Set Up AI Concierge
Daily-use sections (skim later)
These you'll use day-to-day, not during setup:
- Service Requests — guest requests like extra towels.
- Wake-up — wake-up call schedules.
- Messages — broadcast or per-room messages.
- Feedbacks — what guests are saying.
- Operator — a focused dashboard for the front desk.
What if I missed something?
It's fine. Every step above can be redone, edited, or undone. There's no "permanent commit" — go back and change whatever you want.