Branding hotelu
Nastavte název hotelu, logo, adresu a další prvky identity, které se zobrazují v celém hotelovém televizním systému.
Branding hotelu
Co se naučíte: Jak nastavit název hotelu, logo, kontaktní údaje a lokalizaci (časové pásmo, měnu, výchozí jazyk), které se zobrazují na televizorech hostů, v aplikaci Mobile Companion a v e-mailech.
Potřebný čas: 5 minut.
Než začnete
Budete potřebovat:
- Přístupové údaje pro přihlášení.
- Soubor s logem – nejlépe funguje formát PNG s průhledným pozadím, ideálně 512 × 512 pixelů, velikost do 2 MB.
- Adresu, e-mail, telefon a (volitelně) číslo WhatsApp vašeho hotelu.
Krok 1: Otevřete Settings → Identity
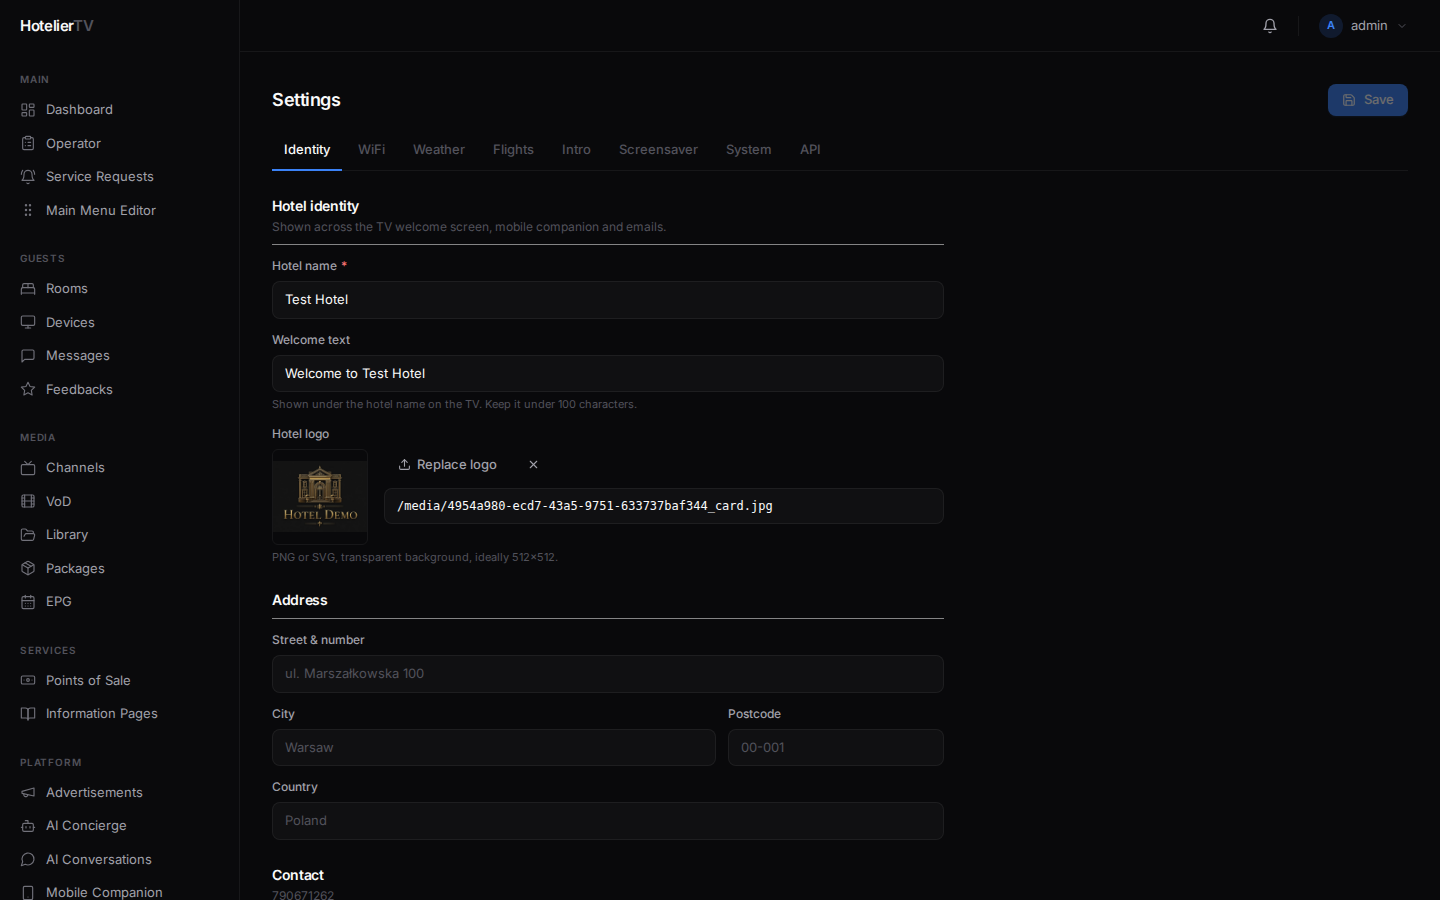
V levém postranním panelu v části SYSTEM klikněte na Settings.
Stránka Settings obsahuje v horní části tyto karty: Identity, WiFi, Weather, Flights, Intro, Screensaver, System, API.
Klikněte na kartu Identity.
Krok 2: Identita hotelu
V části Hotel identity vyplňte:
- Hotel name (povinné) — "Grand Palace Hotel". Zobrazuje se na uvítací obrazovce televizoru, v aplikaci Mobile Companion a v e-mailech.
- Welcome text — přátelský podtitul (např. "Vítejte u nezapomenutelného pobytu."). Maximálně 120 znaků.
- Hotel logo — klikněte na [Upload logo] a vyberte soubor. Nebo vložte URL adresu do pole níže.
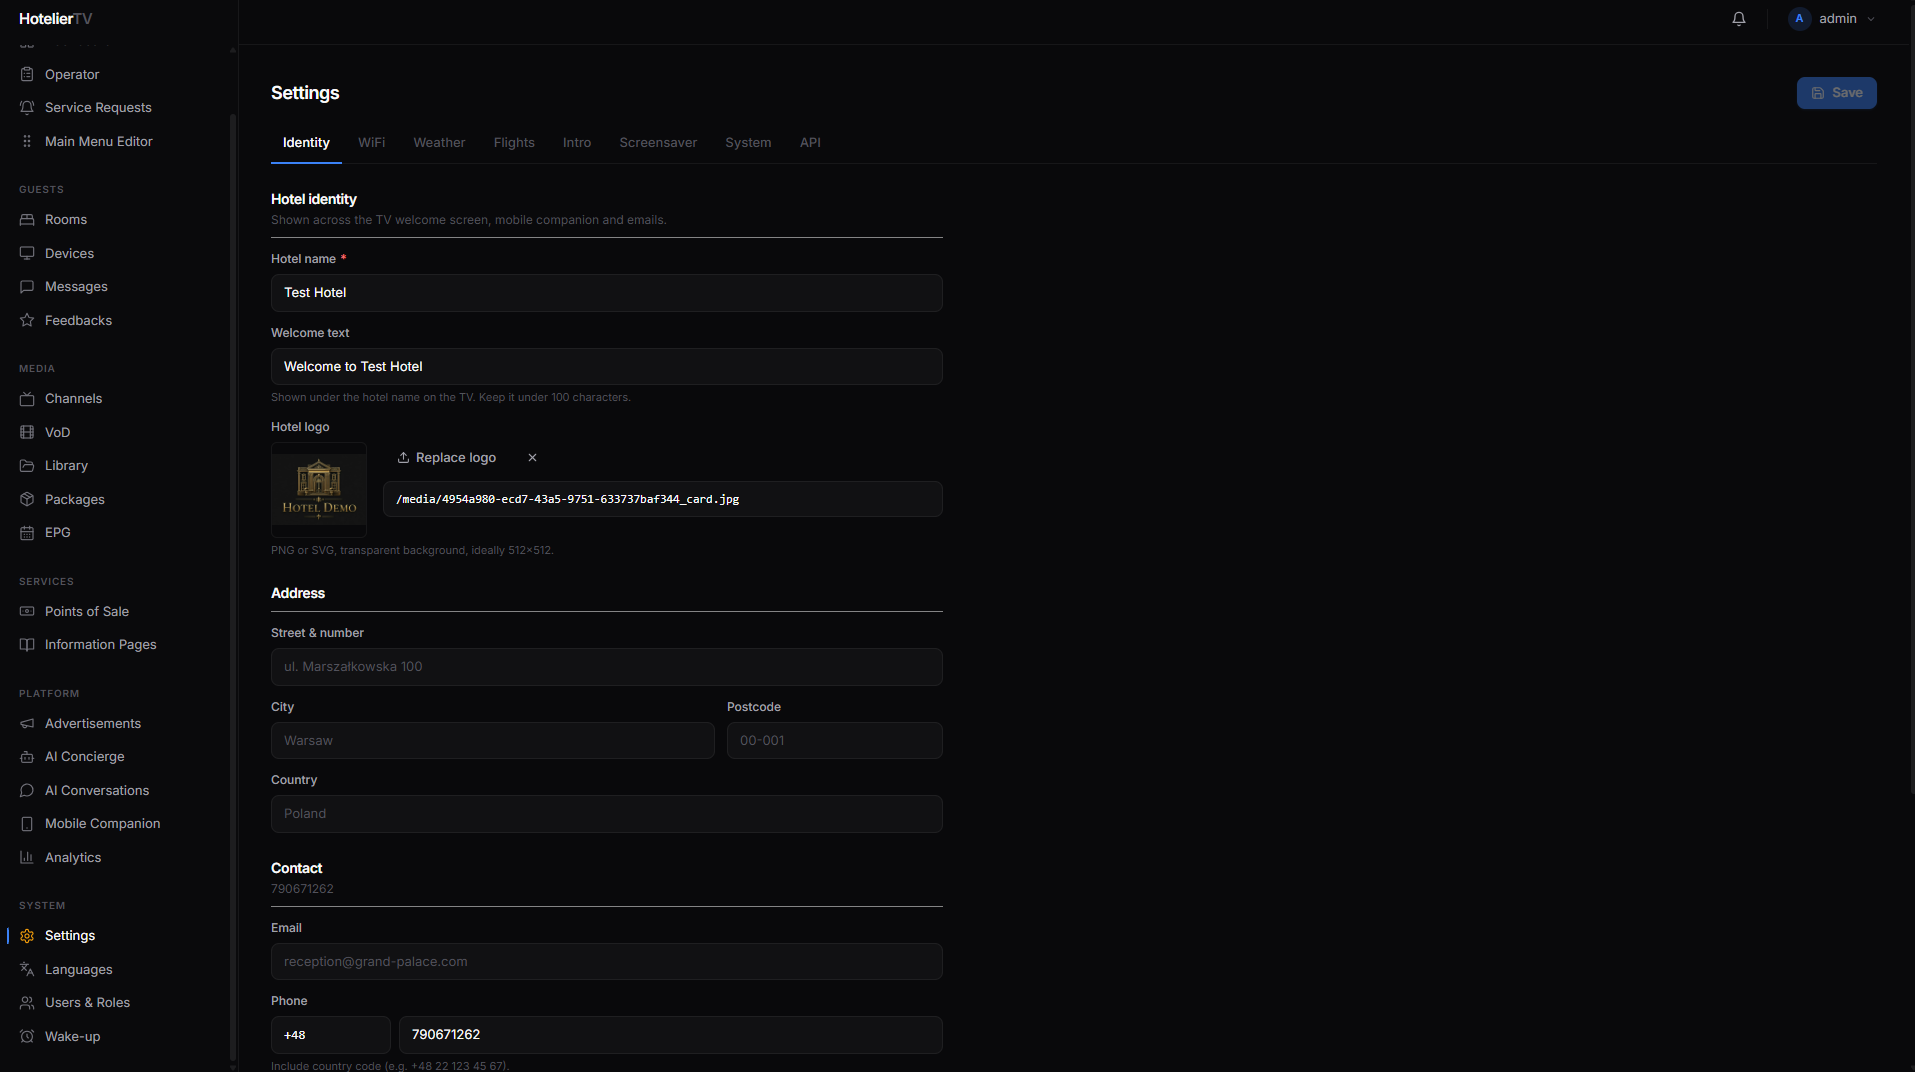
Důležité: Logo nastavené zde je jediným zdrojem pravdy — používá se pro televizor, aplikaci Mobile Companion a e-maily. Nepokoušejte se jej nastavovat samostatně pro Mobile Companion; toto je to správné místo.
Krok 3: Adresa
Vyplňte Street & number, City, Postcode a Country. Tyto údaje se používají na fakturách a v potvrzovacích e-mailech.
Krok 4: Kontakt
- Email — e-mail na recepci.
- Phone — pole pro kód země a místní číslo. Používá se pro dlaždici "Call Reception" na televizoru.
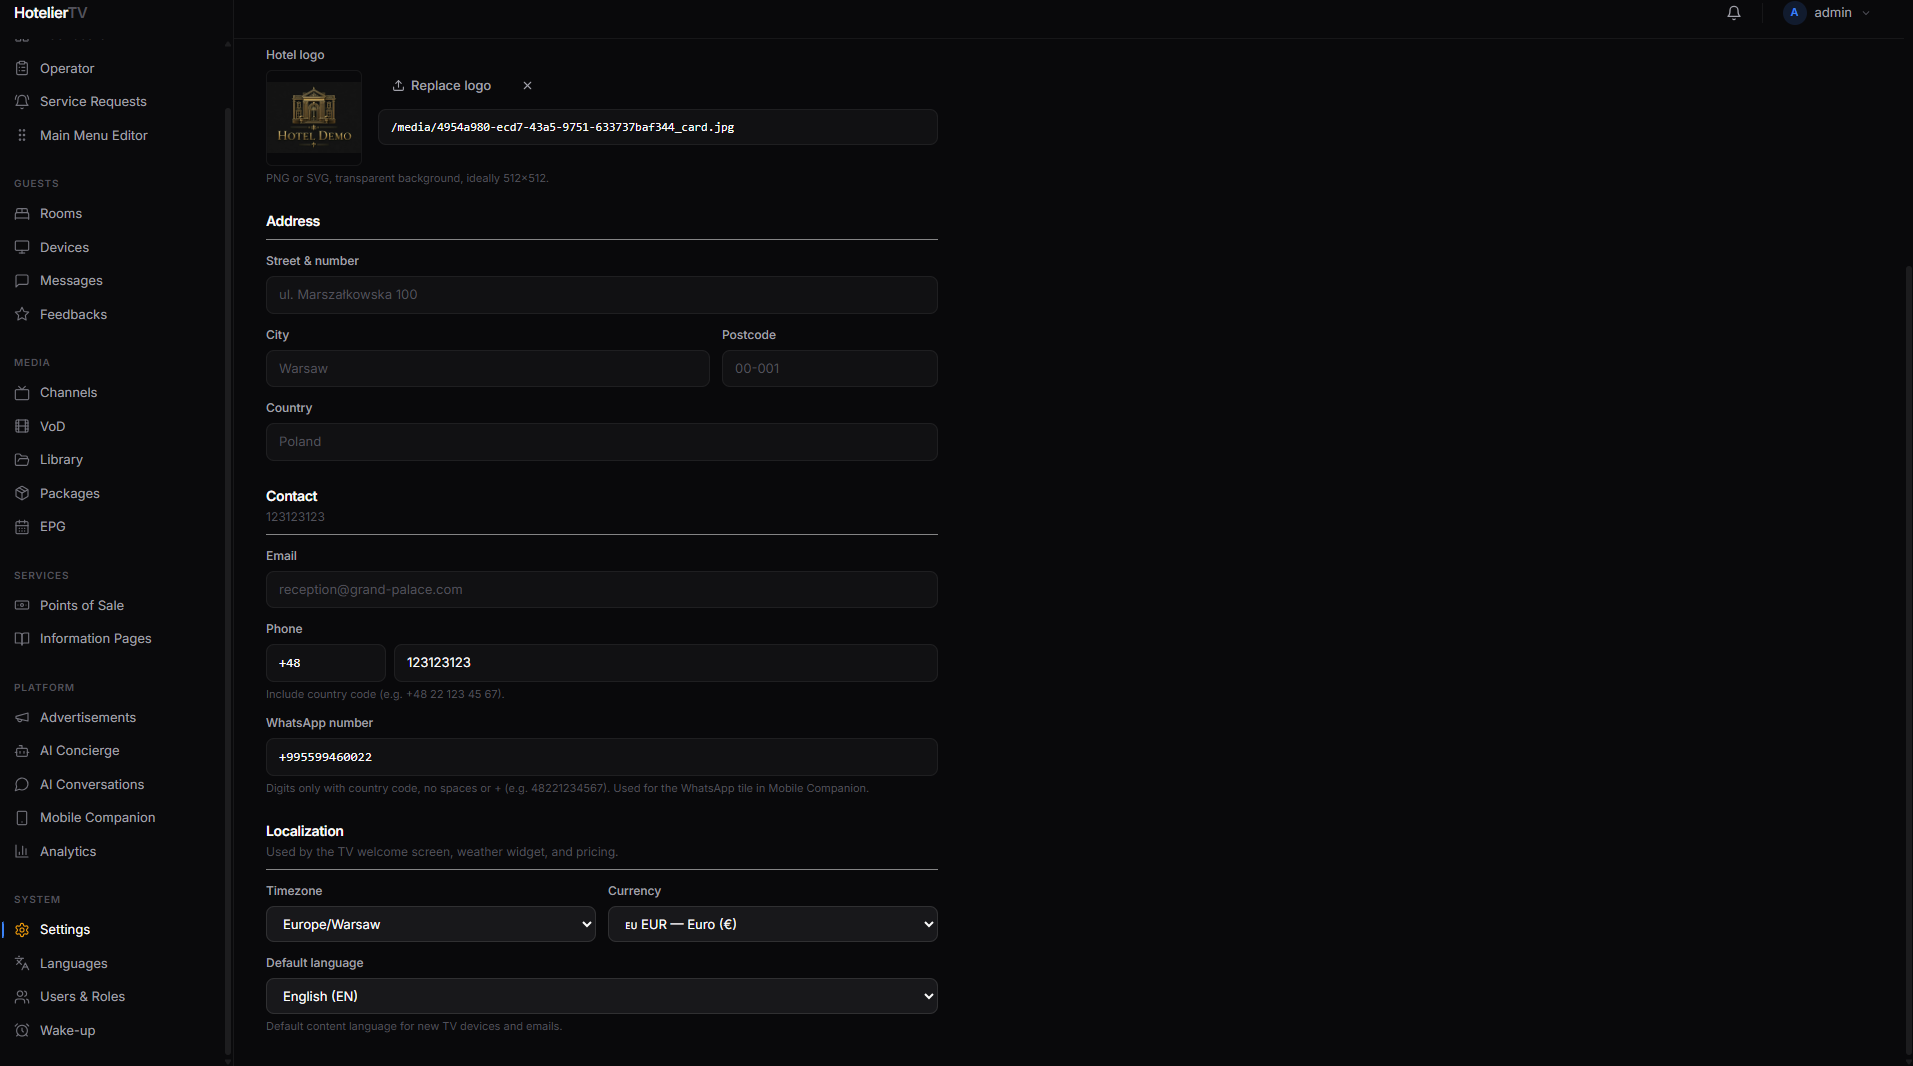
- WhatsApp number — pouze číslice s kódem země, bez mezer nebo
+. Příklad:48221234567. Používá se pro dlaždici WhatsApp v aplikaci Mobile Companion.
Krok 5: Lokalizace
- Timezone — vyberte ze seznamu. Používá se pro widget hodin a časová razítka v e-mailech.
- Currency — používá se všude, kde se zobrazují ceny (restaurace, VoD atd.).
- Default language — jazyk používaný pro nová televizní zařízení a odchozí e-maily. Hosté si mohou jazyk svého televizoru po check-inu individuálně změnit.
Krok 6: Uložení
Přejděte nahoru a klikněte na tlačítko [Save] v pravém horním rohu stránky. Po dokončení se na tlačítku na okamžik zeleně zobrazí "Saved".
Co dělat, když to nefunguje?
Nahrání loga selže:
- Soubor musí být menší než 2 MB.
- Podporované formáty: PNG, JPEG, WebP, SVG.
- Zkuste menší nebo jiný soubor.
Logo vypadá na televizoru špatně:
- Použijte formát PNG s průhledným pozadím, aby fungovalo na jakémkoli pozadí.
- Čtvercový poměr stran (např. 512 × 512) je nejflexibilnější.
Tlačítko pro uložení zůstává zašedlé: Zatím jste nic nezměnili. Upravte libovolné pole a tlačítko se aktivuje.
Televizor po uložení stále zobrazuje starý název/logo: Televizory ukládají obsah do mezipaměti. Počkejte minutu, nebo přejděte do části Devices a použijte možnost Cache reload u konkrétního televizoru.